Guide to Golf Course Photography for Beginners
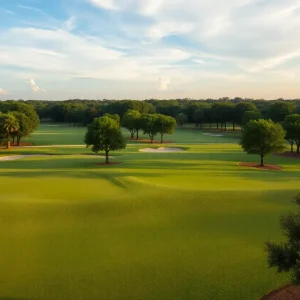
Golf course photography combines a love for the game with an appreciation for nature’s beauty. Capturing stunning images of golf courses not only documents memorable experiences but also showcases the diverse landscapes and architecture that can be found on the greens. As a beginner, understanding key photography techniques applicable to golf courses can elevate your skills and enhance the quality of your golf travel photos.
Understanding the Essentials of Golf Course Photography
Before heading out onto the course, it’s crucial to grasp the fundamentals. Familiarizing yourself with essential photography concepts will help you effectively portray the unique characteristics of each course you visit. Here are several important golf photography tips to set you on the right path.
Choosing the Right Equipment
Investing in appropriate photography gear is essential for capturing the vibrant colors and unique landscapes of golf courses. Here are the primary tools you should consider:
- Camera: A DSLR or mirrorless camera offers more flexibility and control compared to point-and-shoot models. These cameras allow you to adjust settings like aperture, shutter speed, and ISO, ensuring more creative freedom.
- Lenses: A versatile lens, such as a 24-70mm zoom lens, is an excellent choice. A wide-angle lens can also be beneficial for capturing sweeping landscapes or grand views of the course.
- Tripod: For stable shots, especially in lower light conditions, a tripod is invaluable. It allows for longer exposure times without sacrificing image sharpness.
- Filters: Polarizing filters reduce glare from sunlight and enhance color saturation, making greens appear more vibrant.
Mastering Composition Techniques
Composition largely dictates the quality of your images. Here are several golf photo tips to enhance your composition skills:
- Rule of Thirds: Divide your frame into three equal sections, both horizontally and vertically. Place focal points along these lines or at their intersections to create visually appealing compositions.
- Leading Lines: Use pathways, cart trails, or other lines present on the course to draw viewers’ eyes toward the subject.
- Foreground Interest: Incorporate elements in the foreground, such as flowers or sand traps, to add depth to your photos.
- Framing: Utilize trees or architectural elements to create a natural frame for your subject, giving depth to your image.
Timing and Lighting in Golf Photography
Good photography requires more than just the right equipment and composition; it also depends heavily on lighting conditions. Understanding how to manage light can significantly improve your golf travel photos.
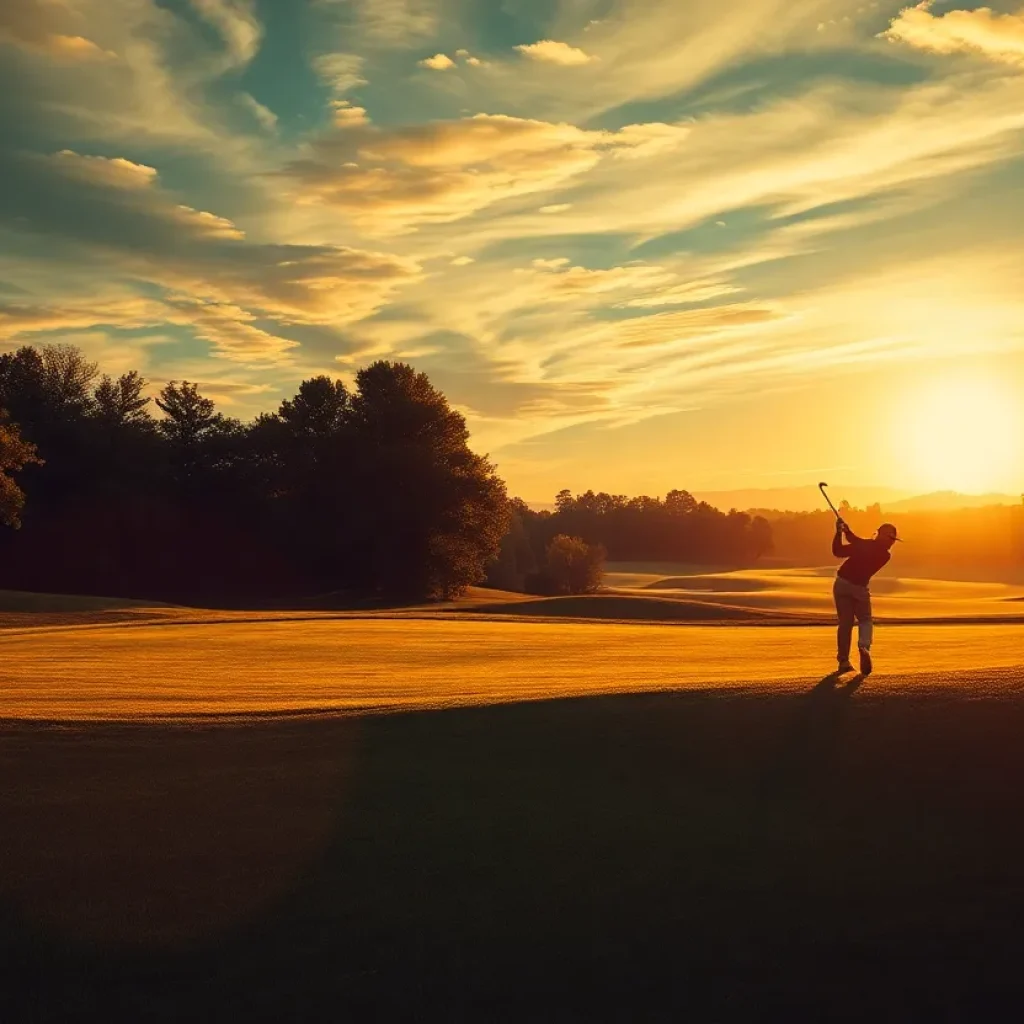
The Golden Hour
The best time for taking golf photos is during the golden hour, which occurs shortly after sunrise and before sunset. The soft, warm light enhances colors and creates beautiful shadows, making for striking images. Here’s how to maximize this light:
- Arrive early or stay late to capture the rich hues that appear during sunrise and sunset.
- Avoid harsh midday sunlight that can wash out colors and create unflattering shadows.
Cloudy Days
Cloudy days can be a photographer’s friend. Diffused light produces softer shadows and reduces glare, which can enhance the details in your golf course photography. When taking photographs under these conditions:
- Emphasize rich greens and textures that might appear flat under direct sunlight.
- Experiment with black and white photography to capture striking contrasts.
Capturing Action Shots
Having a solid understanding of still photography is essential, but golf photography uniquely demands capturing action. Here are recommended techniques for taking exciting golf photos:
Anticipate the Moment
Predicting when a player will hit the ball can lead to stunning action shots. Follow these tips to anticipate the right moment:
- Follow the player’s routine. Understanding their pre-shot habits will give you clues about when to click.
- Use continuous shooting (burst mode) on your camera to capture a series of frames as the player swings.
Focus on Emotions
Golf is filled with emotional moments. Whether it’s a putt for the game or a missed opportunity, capturing these emotions can add narrative to your images:
- Be ready to capture reactions such as smiles, grimaces, and gestures.
- Use a fast shutter speed to freeze the motion and expression.
Editing Your Golf Course Photos
Editing can significantly enhance your images. Here are several fundamentals of post-processing in golf photography:
Basic Adjustments
- Exposure: Adjust the brightness and contrast to bring out details.
- Saturation: Enhance the colors while avoiding oversaturation that may make the image appear unnatural.
- Sharpness: Ensure your images are crisp without introducing noise.
Utilizing Editing Software
Several software options cater to photographers of all skill levels:
- Adobe Lightroom: Excellent for organizing and making batch adjustments to images.
- Adobe Photoshop: Ideal for more complicated edits, such as removing distractions or enhancing specific areas of an image.
Essential Golf Course Photography Tips for Beginners
With this comprehensive golf photography guide, you are well-equipped to take breathtaking images on the course. Here are summarized tips to keep top of mind:
- Invest in quality equipment suited for the type of photography you want to capture.
- Master composition techniques to increase the visual impact of your photos.
- Utilize natural light effectively by shooting during optimal times.
- Prepare to capture both action and emotion to tell a compelling story.
- Spend time in post-processing to polish your photography and ensure the best possible presentation.
Conclusion
Golf course photography is an enjoyable endeavor that allows you to combine your love for golf with artistic expression. Whether you’re documenting a special round or showcasing beautiful landscapes, following these key photography tips will enhance your skills as well as your final images. With practice, patience, and a passion for the game, your golf travel photos will surely be a visual delight for yourself and others to enjoy.